
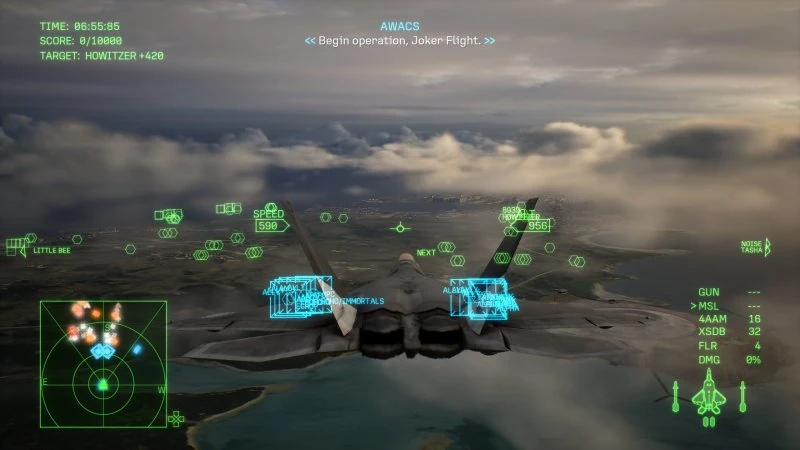
Mission 25 walkthrough
Switch between the two routes
Expand the radar and locate both friendly columns. Help whichever group has stopped advancing. As the group starts moving, check the other route. Powering through every white marker on one side leaves the other column exposed.
Refill before the Shadows arrive
The western return line lets you restock and swap specials. Make the trip between pressure waves while your allies are moving. Bring an air-to-air option back alongside the ground loadout.
Recover wingman commands
The new Lux Lunae contacts pin down your wingmen. The four Gripen Es from the 120th Unit are the immediate danger to ground allies. Watch those first, then remove the Shadows chasing your wingmen so orders work again.
Stay with the Immortals
Listen for specific HQ markers as the ground team calls its route. The two unfinished land battleships in drydock gain railgun markers during the final push. Return to the ground team's next call after clearing them.
Separate the optional replay goals
For Fire the Load, count four Podarges, including two on the water and two reinforcements. Wait for confirmation that each transport is gone. For Cinis on a qualified ace replay, count every Land Aegis and Land Destroyer, including the newly dropped units.
Optional named aces
Cinis · F-15E Strike Eagle. Destroy every land destroyer and every Land Aegis, then down Cinis.
Silacrum · EA-36 Barricader. Fly through the gap between the sea and the hovering Podarges, then down Silacrum.
Mission 25 gameplay video
Follow the recorded sortie alongside the mission notes.
Watch on YouTube